How to Get a U.S. Visa Easily – Step-by-Step Guide!

Securing a U.S. visa may seem like a complex process, but with the right preparation, it can be a smooth and manageable experience.
Whether you’re traveling for tourism, business, study, or work, understanding the steps involved can help streamline the process.
This guide will walk you through the essential steps, from determining which type of visa you need to attending your visa interview.
Follow these instructions carefully to increase your chances of a successful application!
Step-by-step guide to getting a U.S. visa
Step 1: Determine the type of visa you need
Before you start, you need to know which visa you are applying for. The U.S. offers a variety of visa categories, including:
- Tourist Visa (B-2): For leisure or visiting family/friends.
- Business Visa (B-1): For business purposes, meetings, or conferences.
- Student Visa (F-1 or J-1): For studying in the U.S.
- Work Visa (H-1B, L-1, etc.): For employment or professional purposes.
- Immigrant Visa: For those wishing to live permanently in the U.S.
Step 2: Complete the DS-160 form (Online visa application)
Once you’ve decided on the visa type, you’ll need to complete the DS-160 form, which is the online nonimmigrant visa application. This is an essential document for most U.S. visas.
- How to complete the DS-160:
- Visit the official DS-160 website here.
- Select your location and the U.S. embassy/consulate where you’ll apply.
- Fill out the form accurately (your personal details, travel plans, etc.).
- Upload your passport-sized photo (must meet specific guidelines).
- After completing the form, you will receive a confirmation page with a barcode. Print this out as you’ll need it for your visa interview.
Step 3: Pay the visa application fee
- Visa Fee: The fee varies based on the type of visa you are applying for, usually around $160 for most nonimmigrant visas.
- How to Pay: The payment methods will vary depending on your country. Typically, you can pay online via bank transfer or at designated banks. Check the payment options on the U.S. embassy or consulate website for your country.
Step 4: Schedule your visa interview
After completing the DS-160 and paying the visa application fee, the next step is scheduling your visa interview. Interviews are typically required for applicants between the ages of 14 and 79.
- How to Schedule the Interview:
- Visit the U.S. embassy or consulate’s website in your country.
- Create an account on the visa appointment system.
- Choose a date for your interview and pay any additional appointment fees, if applicable.
- Once your interview is scheduled, you will receive a confirmation that you must take to the interview.
Step 5: Gather required documents
Make sure you have all the necessary documents for your interview. The standard list of documents includes:
- Valid Passport: Must be valid for at least six months beyond your intended stay.
- DS-160 Confirmation Page: Printout of the form with the barcode.
- Visa Application Fee Receipt: Proof of payment for the visa fee.
- Passport-Sized Photos: Two recent photos that meet U.S. visa photo requirements.
- Appointment Confirmation: Proof of your scheduled interview.
- Additional Documents (depending on the visa type):
- Tourist Visa: Proof of ties to your home country (e.g., employment, family).
- Business Visa: A letter from your employer and a detailed itinerary.
- Student Visa: Acceptance letter from a U.S. school, SEVIS fee payment.
- Work Visa: Job offer letter, approved petition (from your U.S. employer).
Step 6: Attend the visa interview
Arrive early for your visa interview, as it is a key part of the application process. The consular officer will ask you questions about your travel plans, background, and reasons for visiting the U.S.
- Tips for a successful interview:
- Be honest and clear in your responses.
- Bring all the required documents and additional supporting evidence (e.g., bank statements, ties to your home country).
- Show that you intend to return to your home country after your visit, especially if you’re applying for a tourist visa.
Step 7: Wait for your visa to be processed
After the interview, the consular officer will inform you whether your visa is approved or if additional documents are needed. The processing time can vary but typically takes a few days to a few weeks.
- Approved Visa: If your visa is approved, the embassy will keep your passport to affix the visa sticker, which will be sent back to you.
- Rejected Visa: If your visa is denied, the officer will explain why. You may be able to apply again after addressing the issues.
Step 8: Receive your U.S. visa
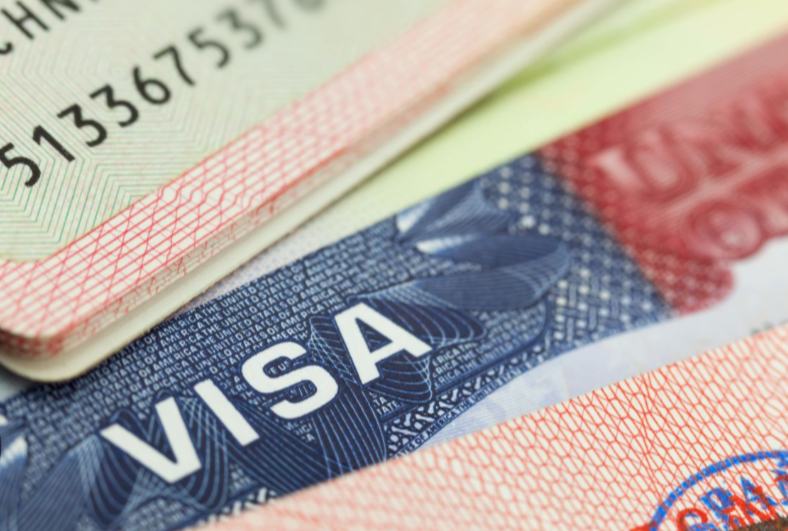
Once approved, you will receive your passport with the U.S. visa stamped in it. You can then plan your trip to the United States!
Additional tips for a smooth U.S. visa application:
- Prepare Early: The U.S. visa process can take time, so start well in advance of your planned travel.
- Show Ties to Your Home Country: U.S. visa officers want to be confident that you’ll return to your home country after your visit, so having strong ties like a job, family, or property helps.
- Be Honest: Don’t provide false information. Misrepresentation can lead to visa denial.
- Check U.S. Embassy Website: Requirements can differ based on your country, so always check the specific U.S. embassy or consulate website for the latest instructions.
By following these steps carefully and preparing well for your interview, you’ll be in a strong position to secure your U.S. visa!


